
October 26, 20261 min read
How to Install a Linear Drain: Step by Step, Slope and Mistakes to Avoid

The linear drain is beautiful and efficient, but it only delivers that result when installed the right way. A wrong slope or poor waterproofing can cause puddles, leaks and expensive rework.
In this guide you will see the installation step by step and the most common mistakes you can avoid.

Before you start
Define the model, length and position of the drain during the design phase, and keep the manufacturer's manual at hand. Installation should be done by a qualified professional, following the product instructions and the standards applicable to the work.
The role of the slope
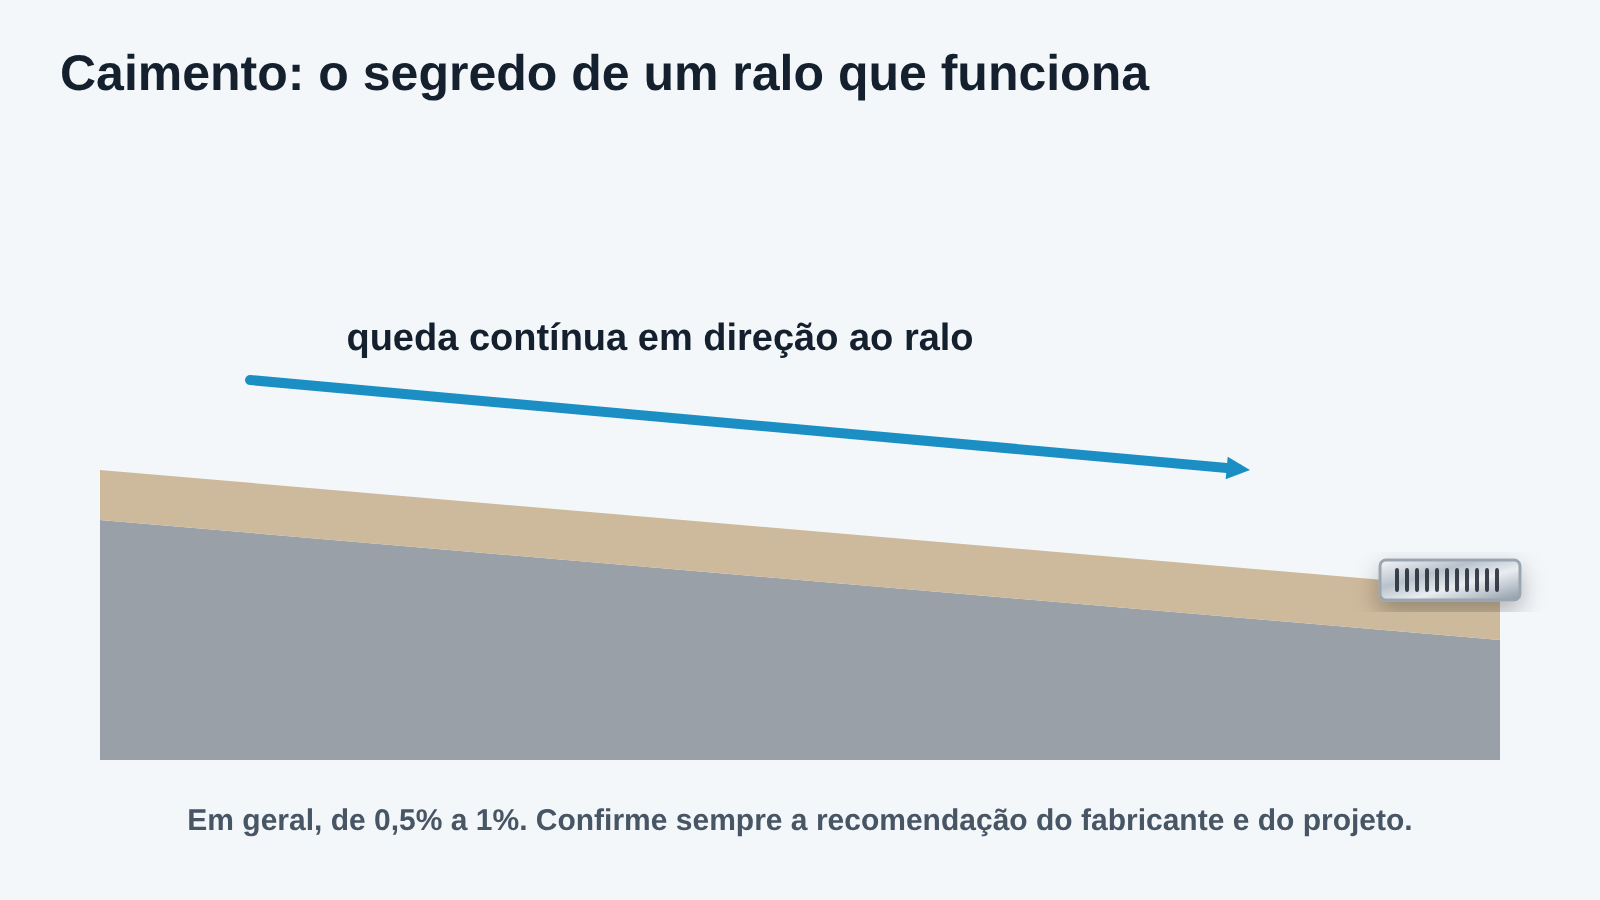
The slope is the floor's inclination toward the drain. Without it, water stays put even with a brand-new drain. With a linear drain the slope runs in a single direction, and the ideal value usually falls between 0.5% and 1%, depending on the project and the manufacturer's recommendation.
Waterproofing care
The drain is a sensitive point: this is where water can seep into the slab. Waterproofing must wrap the drain body, rise up the walls and be tested before the floor is laid. Only after that should the tile be applied.
See the full slope flow in the diagram below.
Common installation mistakes
Most problems with linear drains come from simple execution failures that planning can prevent. These are the main ones:

Conclusion
Installing a linear drain well rests on three pillars: correct slope, tested waterproofing and an aligned finish. By following the step by step and avoiding the common mistakes, the result is a beautiful, dry floor free of leaks for many years.
When in doubt, check the manufacturer's manual and rely on an experienced professional to carry out the work.